Introduction
The SharePoint 2010 Approval workflow is one of the standard workflows that comes with SharePoint 2010 and 2013. The task notification that it sends to approvers presents buttons that provide approvers with one-click access to the task's Edit and View forms. These buttons are not visible if the approver accesses his or her email via web browser. Instead, this one-click access must be provided by hyperlinks. This procedure shows you how.
Solution
- Launch SharePoint Designer 2013.
- Navigate to the site containing the target document library.
- In the Navigation pane, at left, select the Workflows item.
- Under Globally Reusable Workflow, click on Approval - SharePoint 2010. A popup will appear enabling you to create a copy.


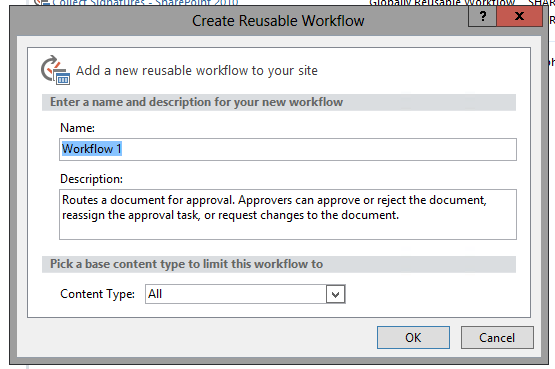
- Click Yes. A dialog will appear.

- Enter a name for the workflow, and description, and then click OK. The results pane updates to display another tab. On this tab, you will see a single stage.

- Click on Approval Workflow Task (en-US) Copy 1. The tab updates to display the workflow customization page of the copied workflow.

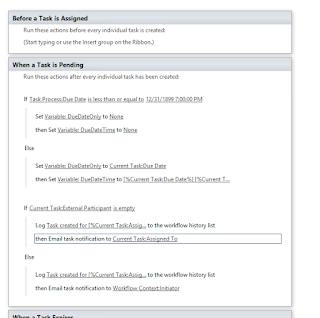
- In the Customization section, click Change the behavior of a single task. The tab updates to display the copied workflow that you can now edit. There are four email notification actions in this workflow. You only need to modify the ones in the When a Task is Pending stage.
- Click on Current Task:Assigned To. A dialog appears displaying the email format.It's the last line that will be modified here.

- Replace task item 3 with
Open this Task to accept or reject the approval, or View the status of this task for more actions (if you cannot update this task, you may not have access to it).
- Select Task, and then click the hyperlink symbol at upper right
 . This opens the Edit Hyperlink dialog.
 - For the Address, click the Function button
 . This opens the Lookup for String dialog.
 - From the Data source dropdown, select Current Task: Approval Workflow Task (en-US).
- Then from the Field from source dropdown, select Form_URN.
- Click OK, and then click OK again. The Task word in the email is now a hyperlink to the task's edit form.
- Next, select the View word in the email, and then click the hyperlink symbol. The Edit Hyperlink dialog appears.
- For the Address, click the Function button.
- From the Data source dropdown, select Workflow Context

- From the Field from source dropdown, select Workflow Status URL.
- Click OK, and then click OK again. The email content will now look like this

- Click OK. The Define Email Message dialog closes.
- Now, repeat these steps for the Workflow Context: Initiator email notification, and you are done.
- Save and Publish. You are done. Now you can add this workflow as you would any of the other 2010 globally re-usable workflows.
- One important note: the workflow you created (from a OOTB workflow) is only available within the scope of the web or site you created it in. This means that if you connected SharePoint Designer to a particular web within a site collection, the workflow will only be available within that web. If you want it to be available to all webs within a site collection, you must create it in the root web of the site collection..


References
- Understand approval workflows in SharePoint 2010: this article was written for SharePoint 2010 but is still valid for 2010 workflows in SharePoint 2013.
- SharePoint 2010 Approval Workflow email is not showing link to Workflow Task list
- SharePoint 2010 Workflows Best Practice - Purge Workflow History List Items
No comments:
Post a Comment